Traffic Light 2

May 2023
-
To bring life back into this old traffic light by integrating current actuated relays with an Arduino to control the light sequencing.
The customer wanted additional features such as a LCD display to show the mode and sequence delay time. They also requested the delay time to be saved into memory so that it wouldn't need to be reset every time the light was powered on.
-
Programmed in C++ Arduino
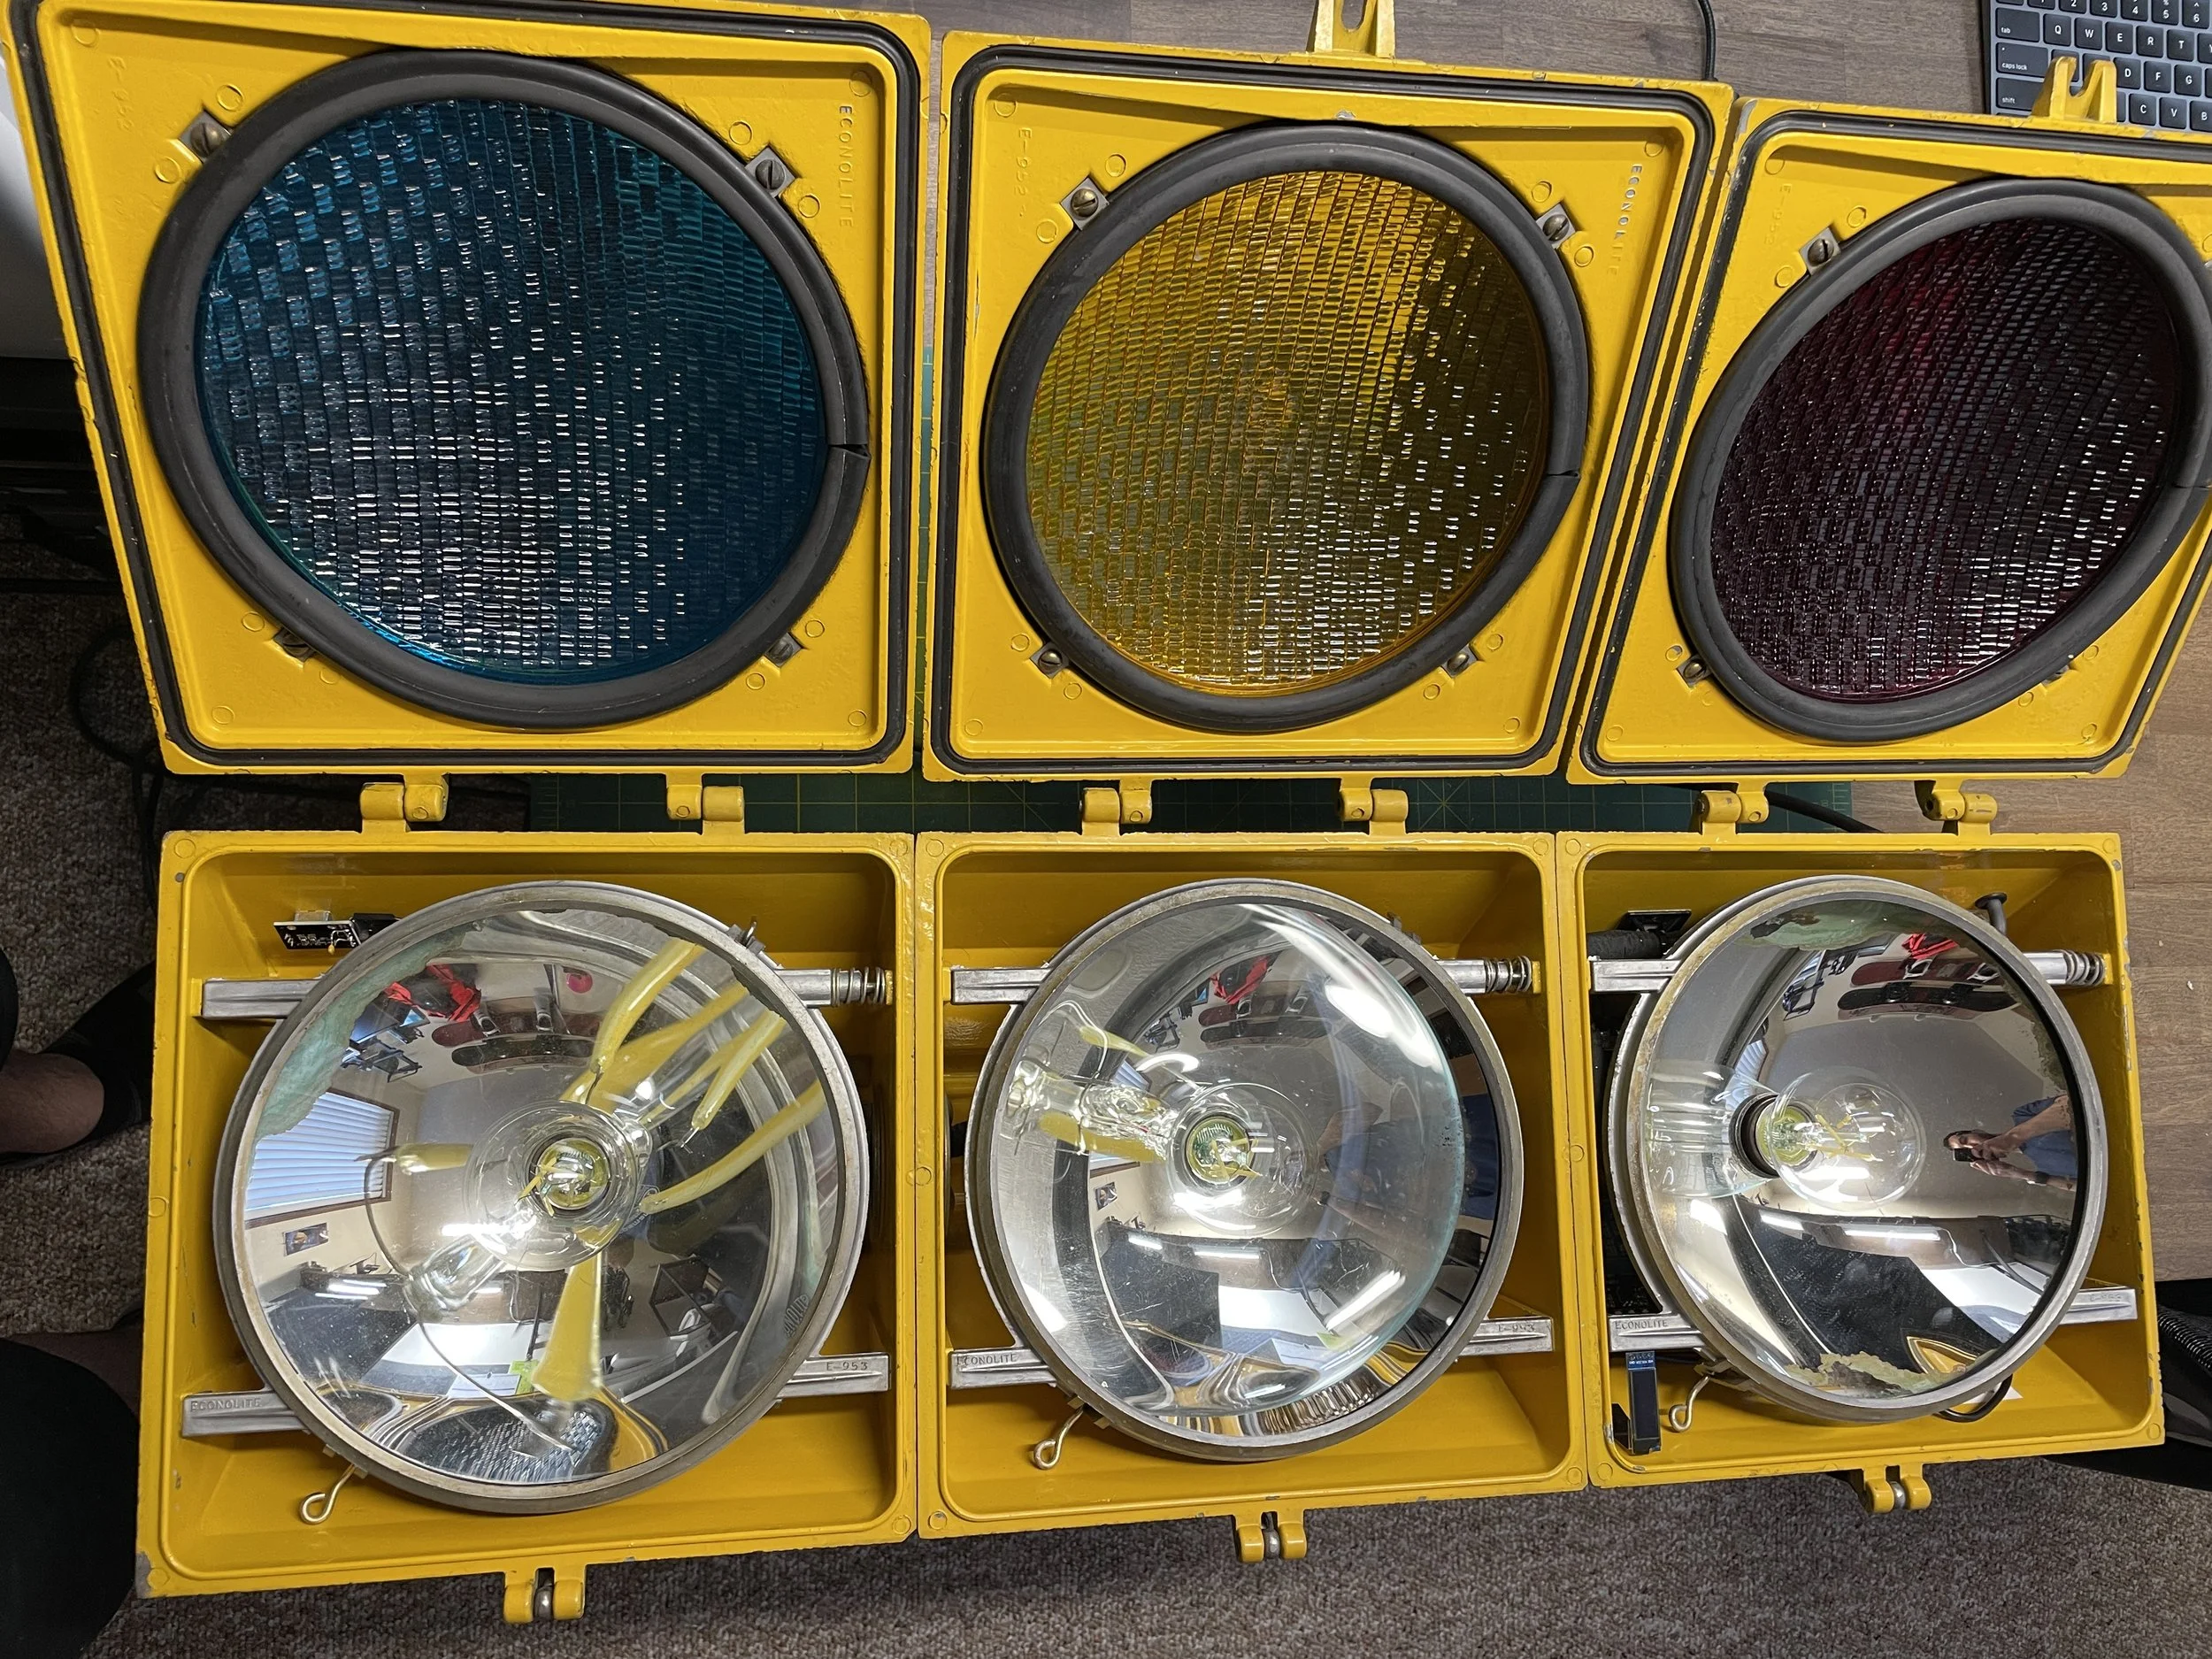
6 Illumination settings
Adjustable illumination duration
Software & hardware debounce
Wall mount only
Sequence duration saved in EEPROM
I2C communication
GPIO interrupt for mode switching
Timer 1 for light sequencing
Timer 3 for Low Power Mode
Step down converter (120V AC - 5V DC)
4 Channel relay (15-20mA signal current)
Main power switch
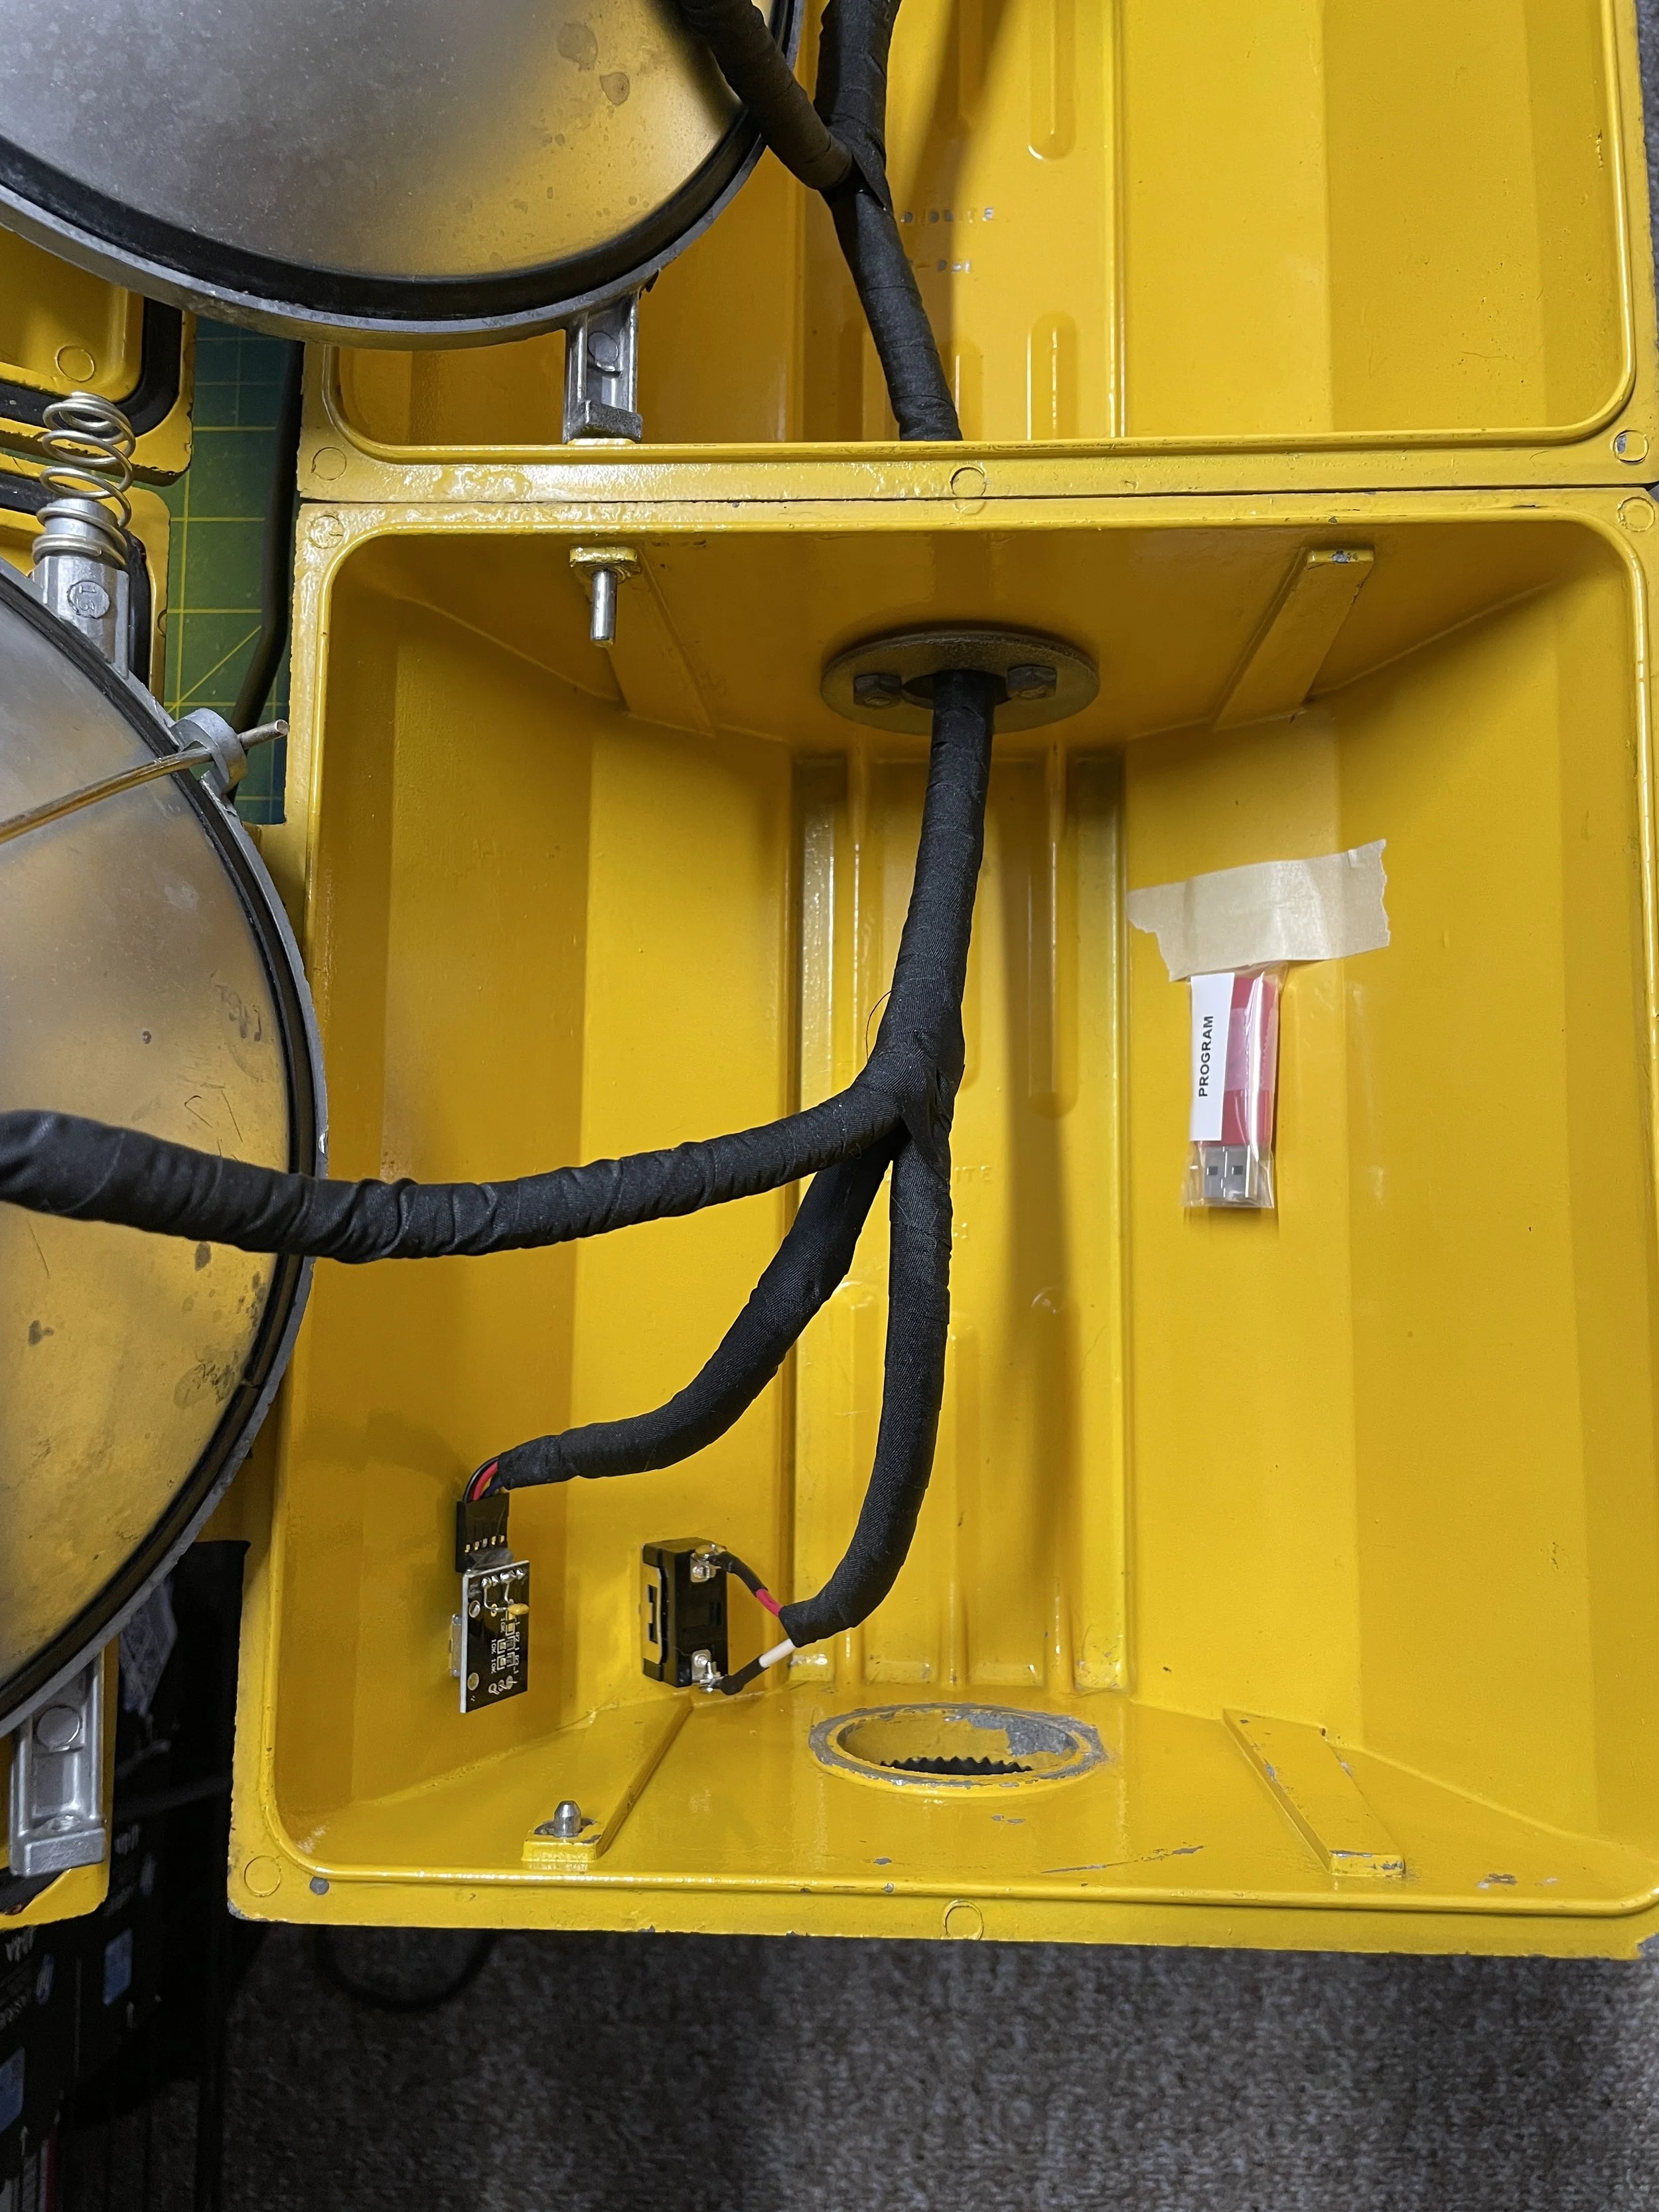
Rotary encoder interface
Main power inline fuse
Mini OLED
-
Lessons:
I think we have seen an increased demand for high quality products in the past decade, even if the price is higher than the current market rate.
Outcome:
The customer was happy to receive their now functional traffic light and were eager to hang it up in their hot rod garage.
Overview
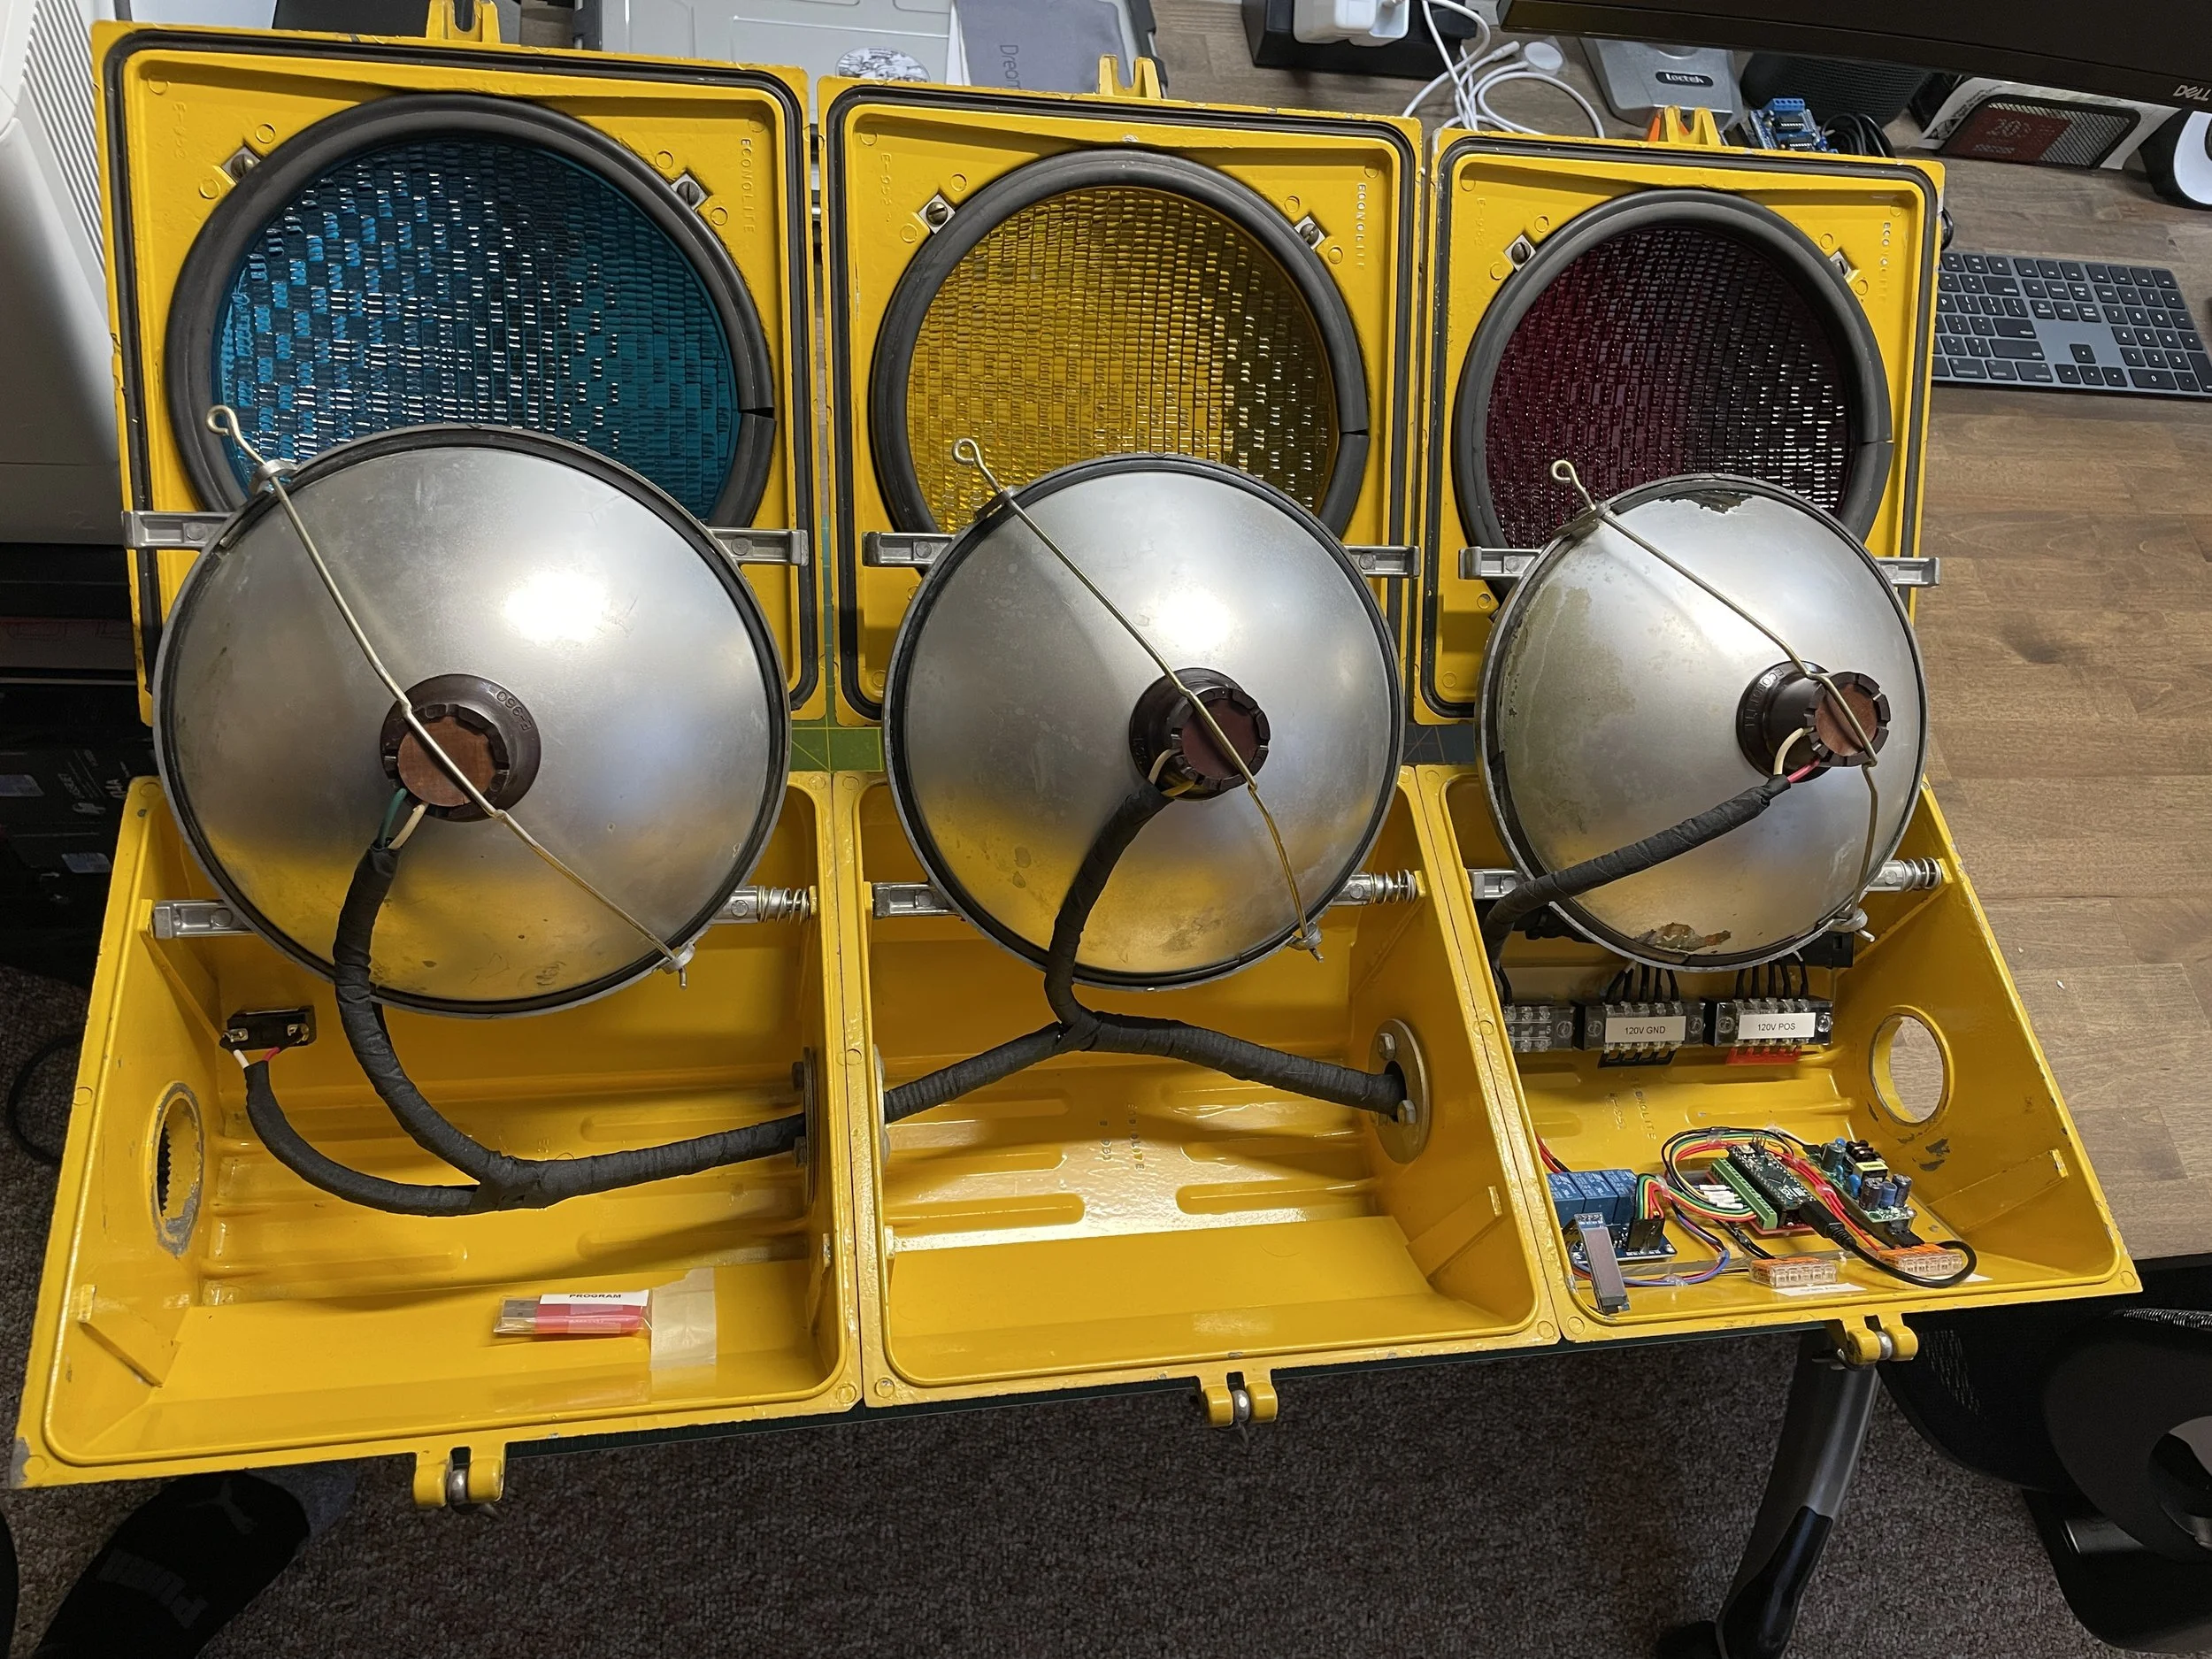
A customer driven, fully functional traffic light, with upgraded features and component protection from the first traffic light project.
↓↓ Photos ↓↓
Software
Some Stuff…

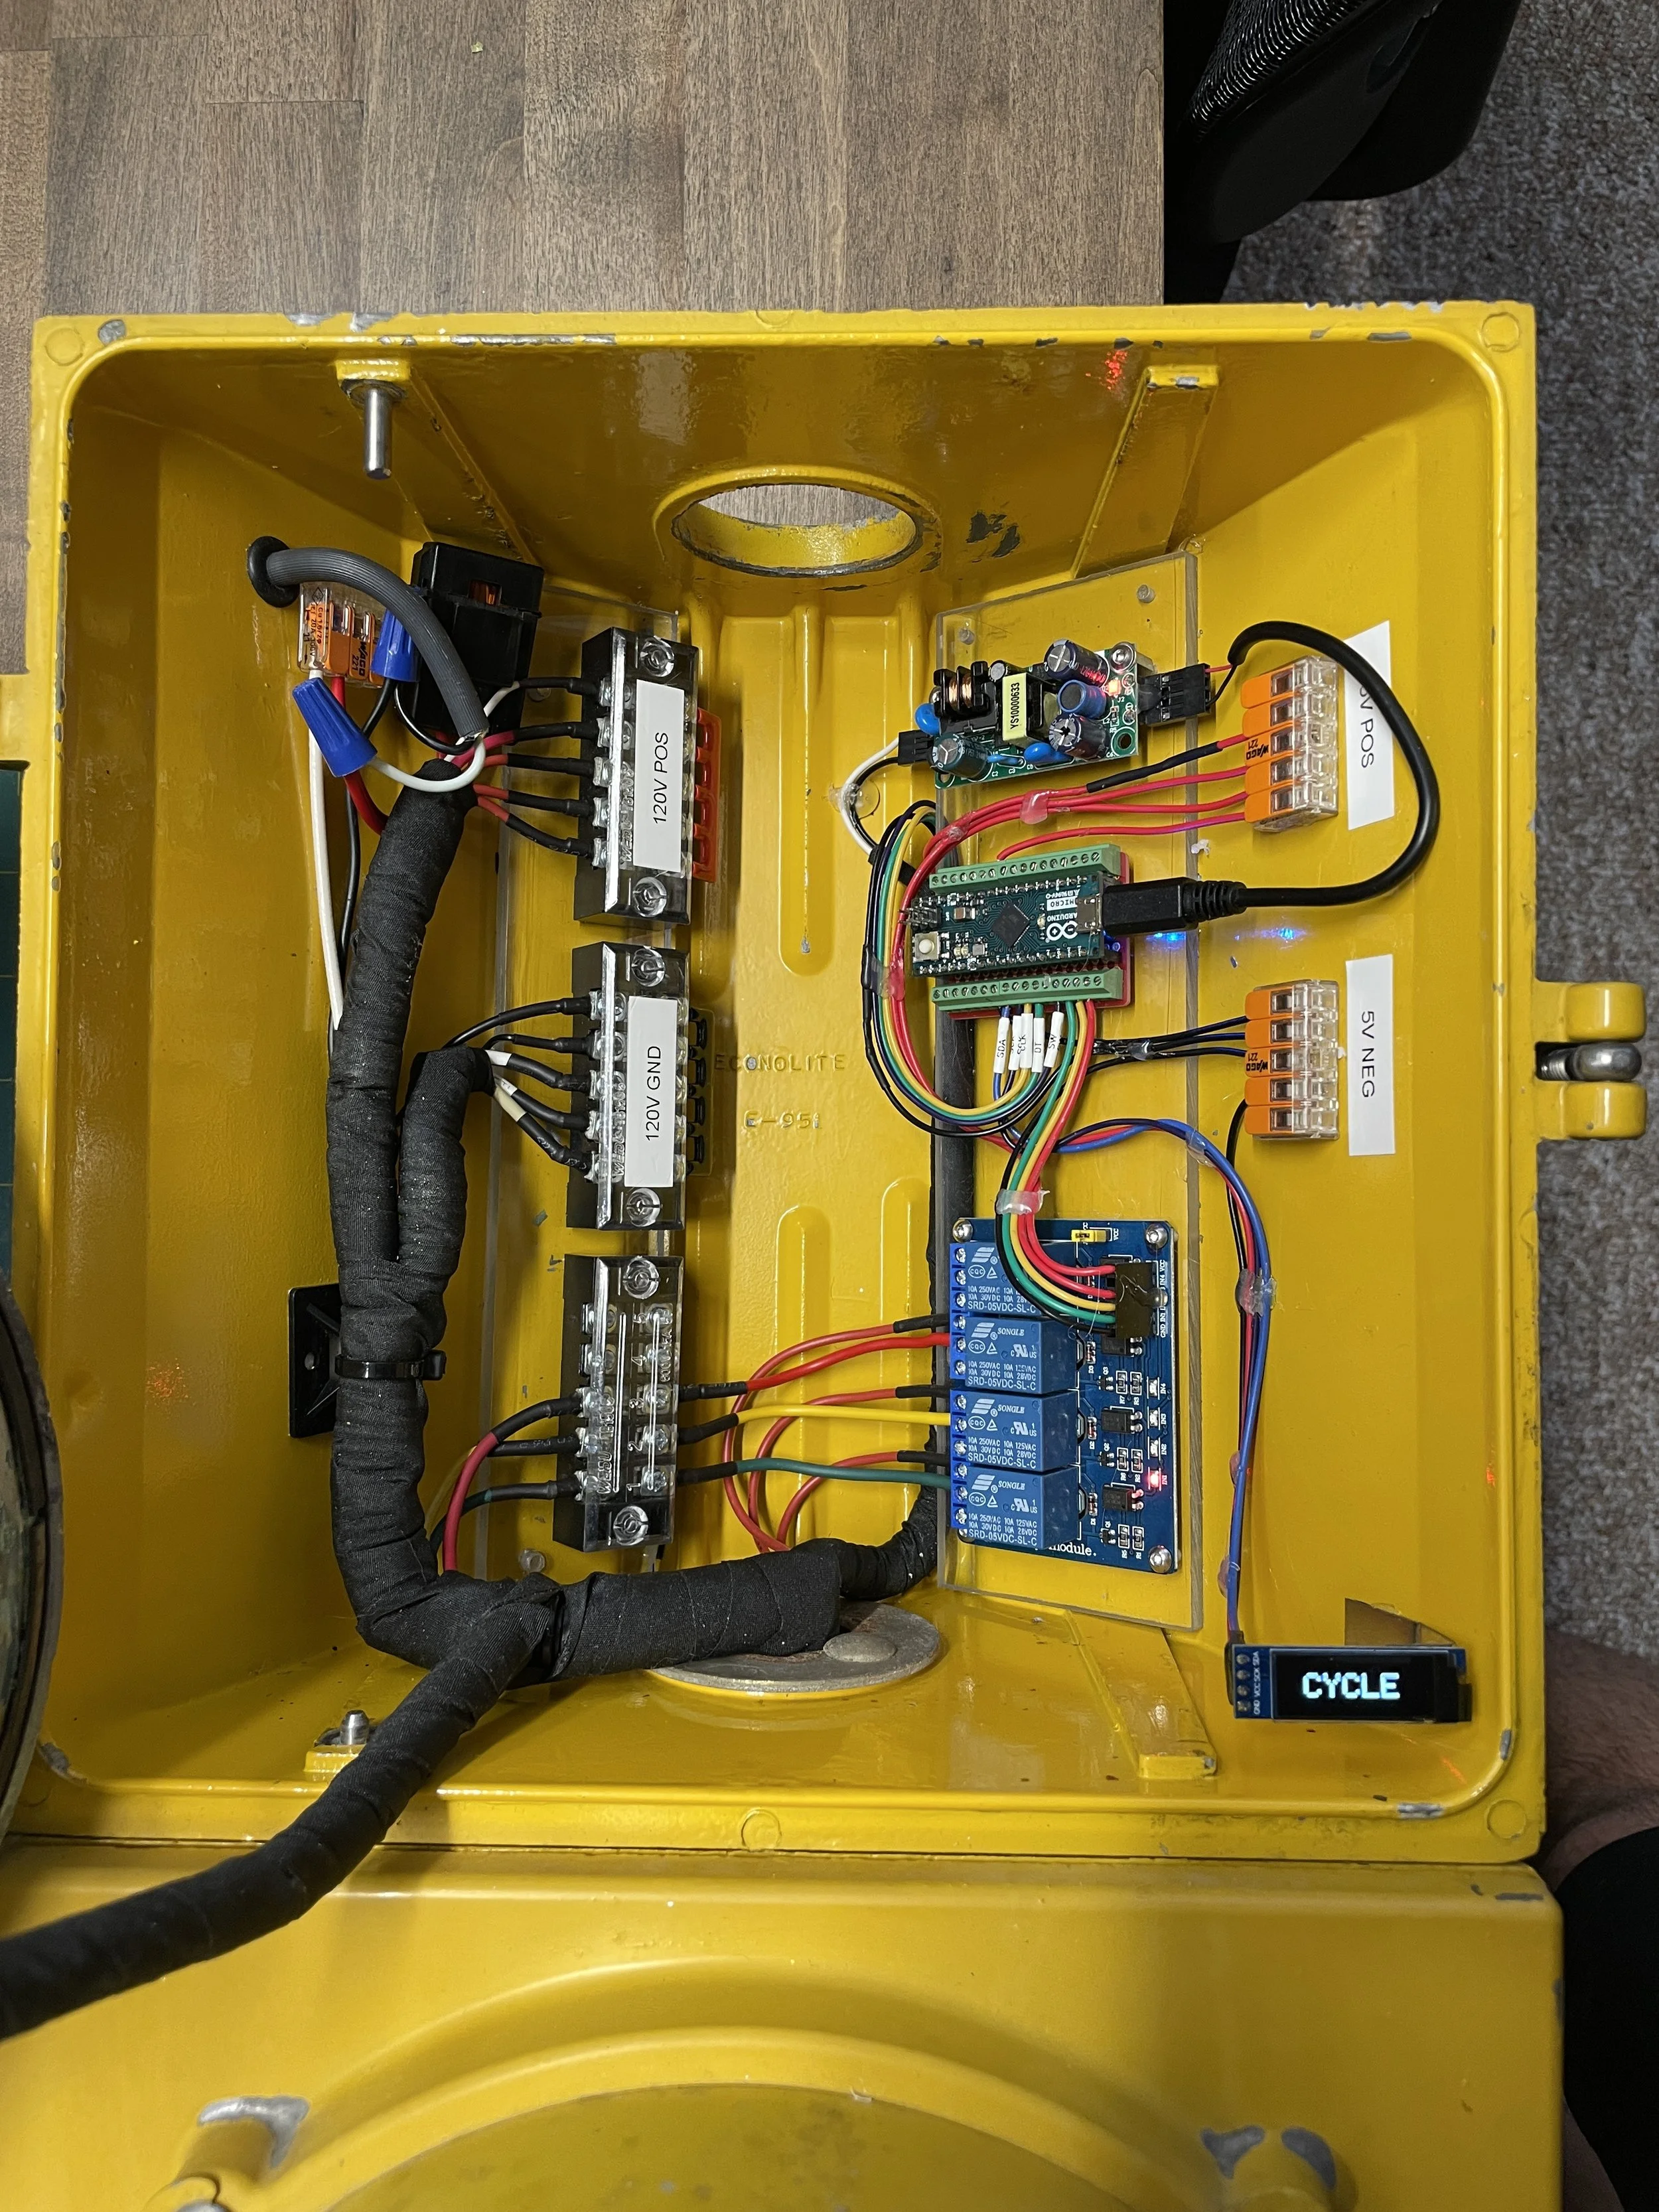
Hardware
Power is supplied to the lights via a 120V AC wall plug and stepped down to 5V DC to power the Arduino. A current controlled 4 channel relay is triggered by the Arduino to connect power to the lights during sequencing. A rotary encoder allows the user to toggle through the light modes which get displayed on the mini LCD.


End Result
The end result was a nice functioning and well built embedded system to control the traffic light.

Videos

Quick Demo